SHOP TALK // DROPOUT CONVERSIONS

Changing dropouts is one of the most complicated frame modifications to perform, and requests for those retrofits are becoming increasingly common as so many vintage frames built with durable materials like steel and titanium outlast the axle and brake standards of their day.

The complication is largely due to the sheer variety of dropouts that are in circulation.

Unlike head tubes, bottom bracket shells, main tubes, and other frame components that have traditionally been widely standardized and used more or less interchangeably on frames across all disciplines (the stalwart BSA English bottom bracket can be found on the vast majority of road, mountain, track, tandem, and even recumbent bikes built over the last half century), chain-stays and dropouts are rarely common across different product categories. Instead they have been made in a plethora of shapes and sizes, often designed for a specific functionality or axle/brake/spacing standard, and sometimes with proprietary dimensions or fitments. 

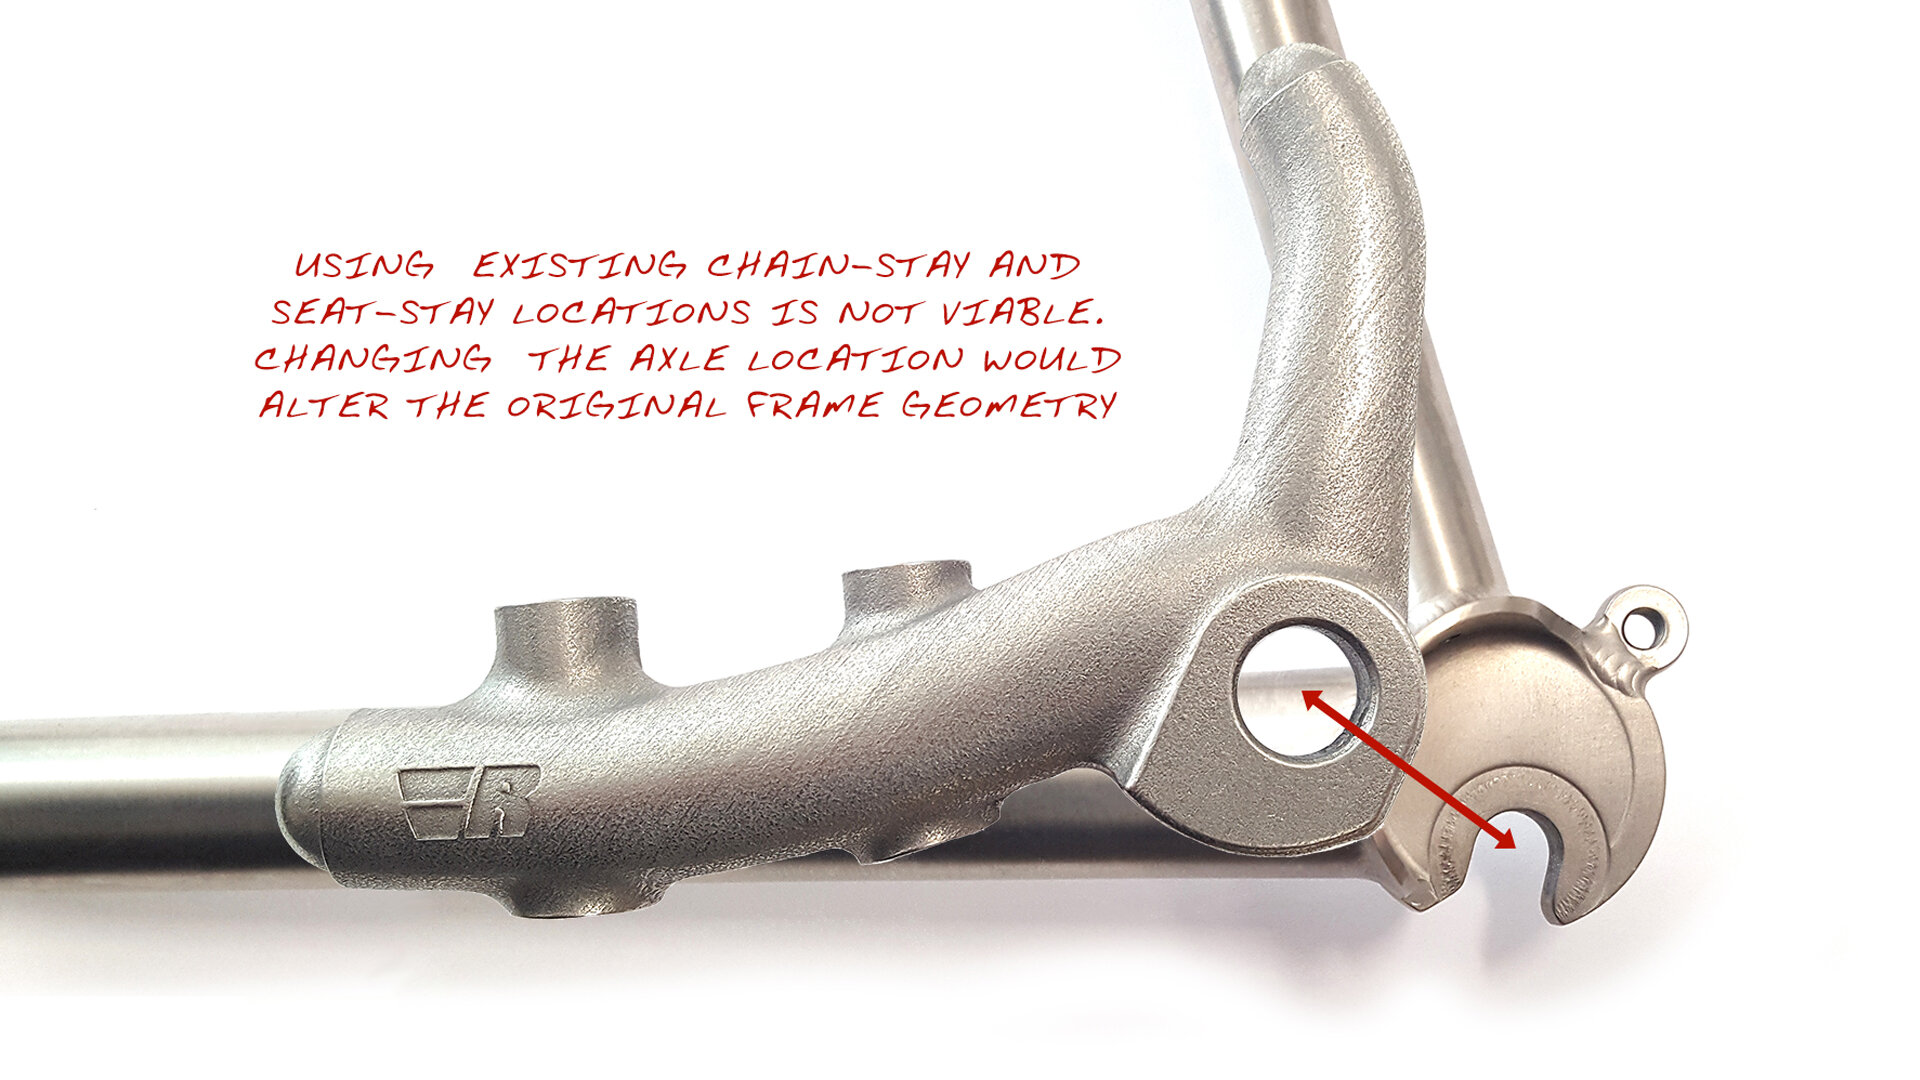
The lengths, angles, and shapes of a bike frame’s rear triangle ensure that the rear axle is placed in a precise location; changing that location by even a few millimeters can noticeably impact the handling of the bicycle, not to mention creating the potential for interference issues with brake calipers, cassette lock rings, and other component parts that are subsequently designed to reference the rear axle location.

It is easy enough to consider a number of dropout styles when designing a frame, before the tubes are cut. But when it comes to retrofits the details of the original rear triangle design often preclude simply cutting one dropout out and welding another one in. This is especially the case when the retrofit is intended to change the application/format of the frame: from a vertical road dropout to a horizontal track dropout; from a fixed non-disc quick release dropout to an adjustable thru-axle disc brake dropout, et cetera.

Different styles of dropouts -- especially those designed decades apart for different axle, brake, and spacing standards -- rarely have similar shapes, lengths, or angles of attachment for stays. Moreover, even across a size run within a single frame model/design there are often dramatic differences in the angle at which seat-stays and dropouts intersect; with all other design variables kept neutral a 49cm frame’s seat stay will attach to the dropout at a much more acute angle than a 61cm frame of the same model.

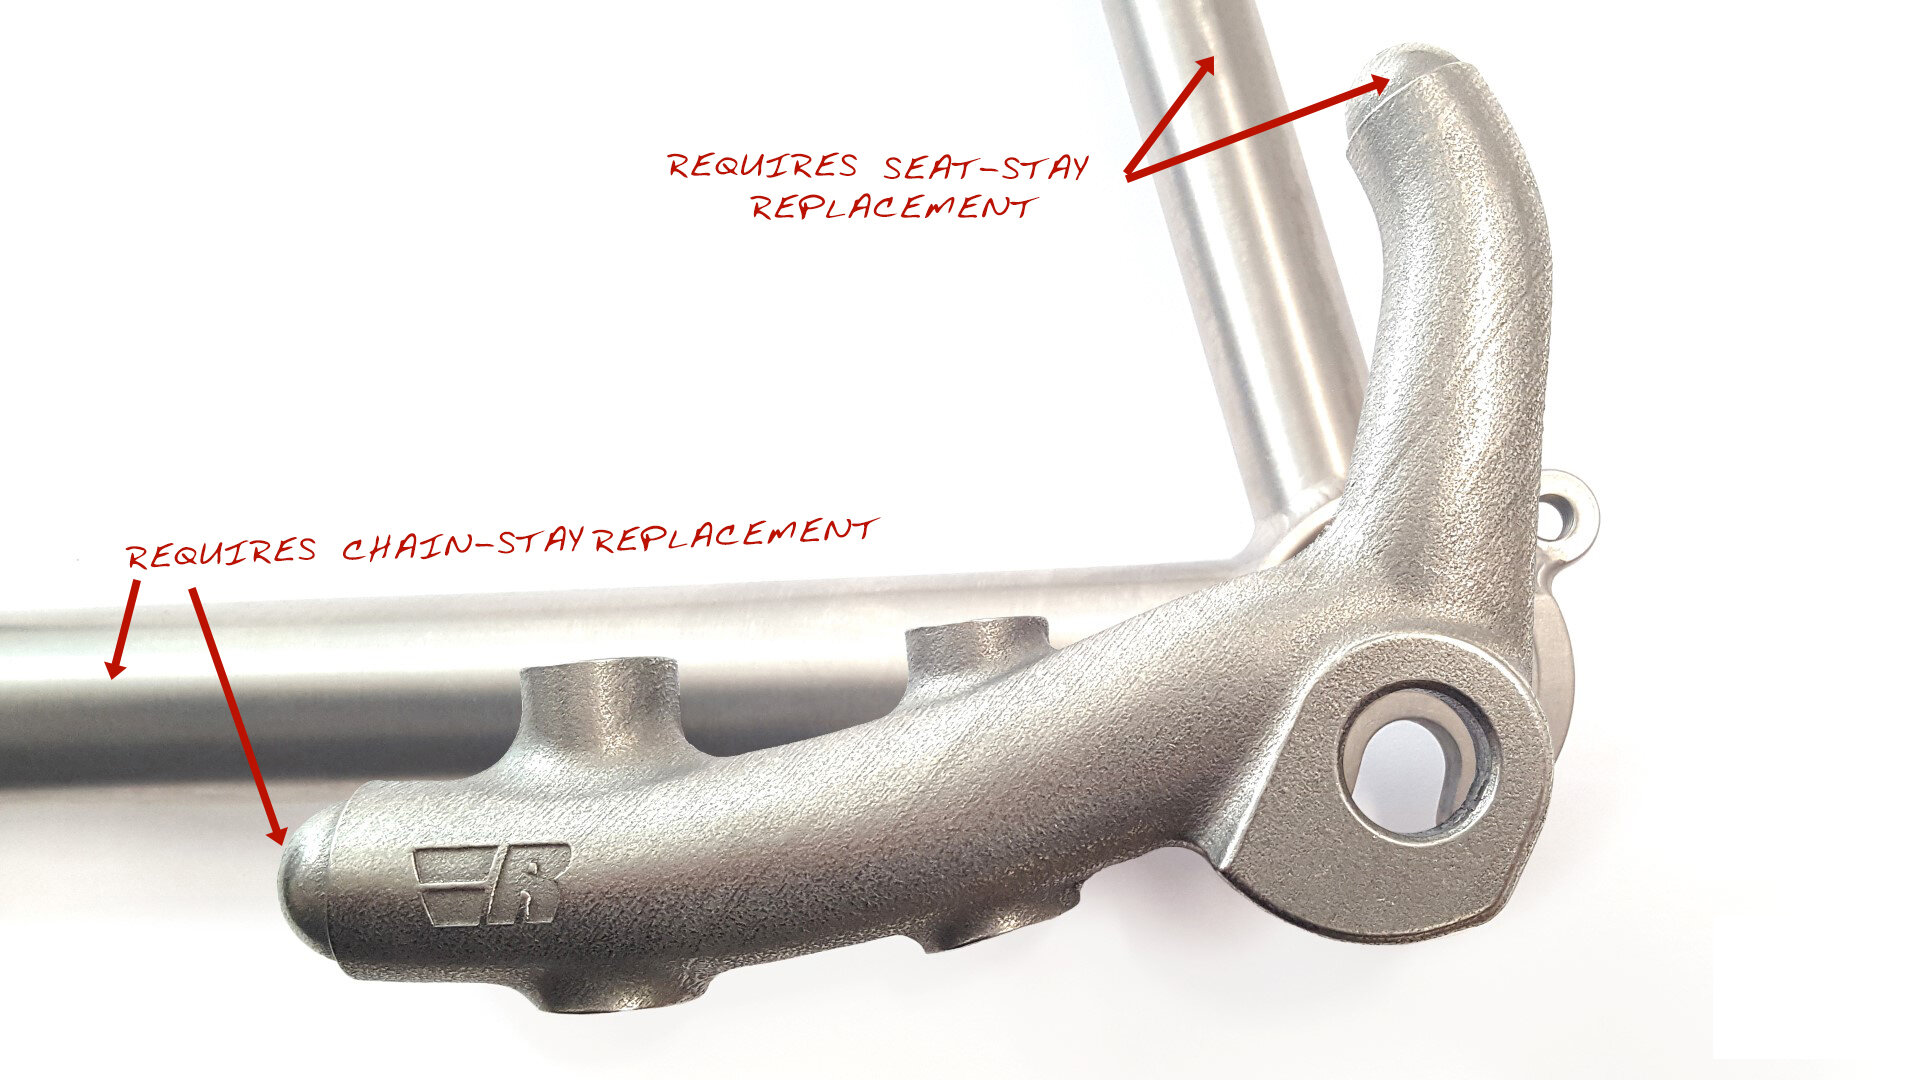
Ultimately this means that the replacement of entire chain-stays and/or seat-stays are often required to keep the rear axle in the same location.

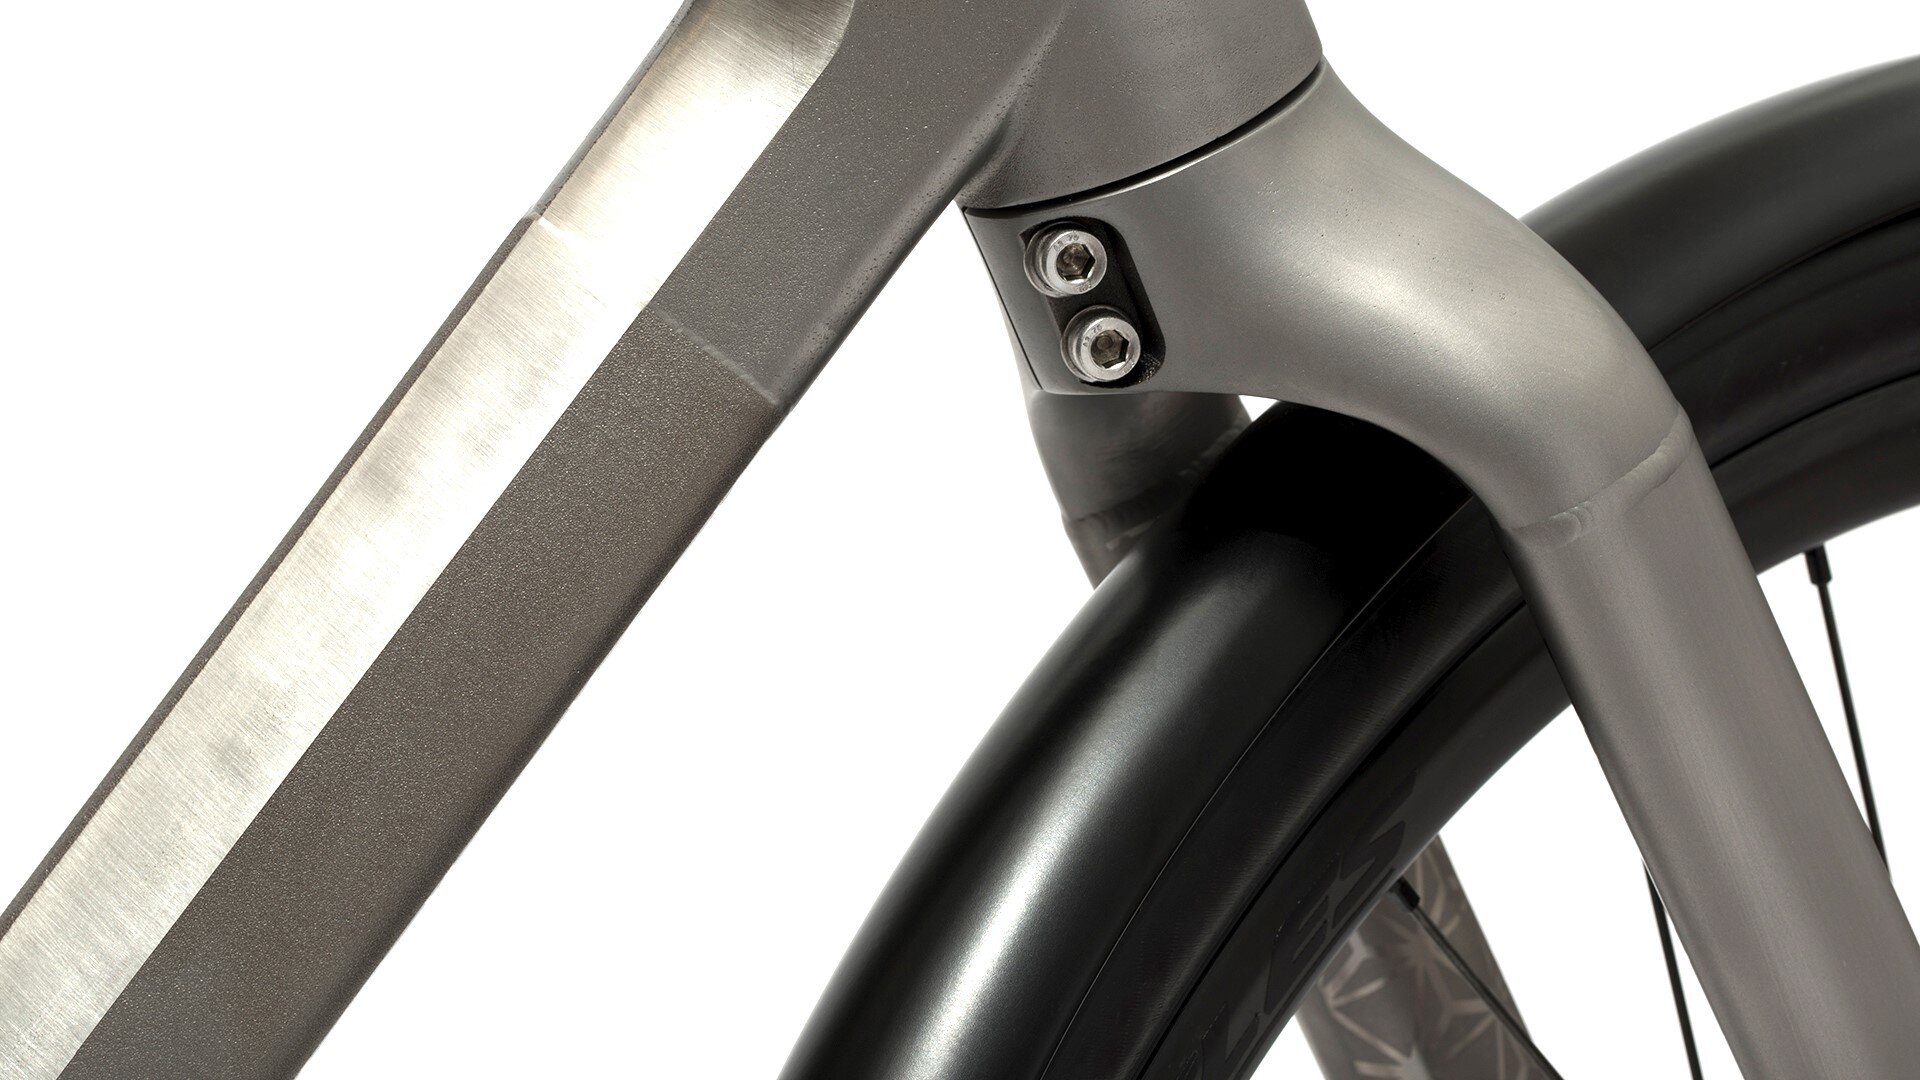
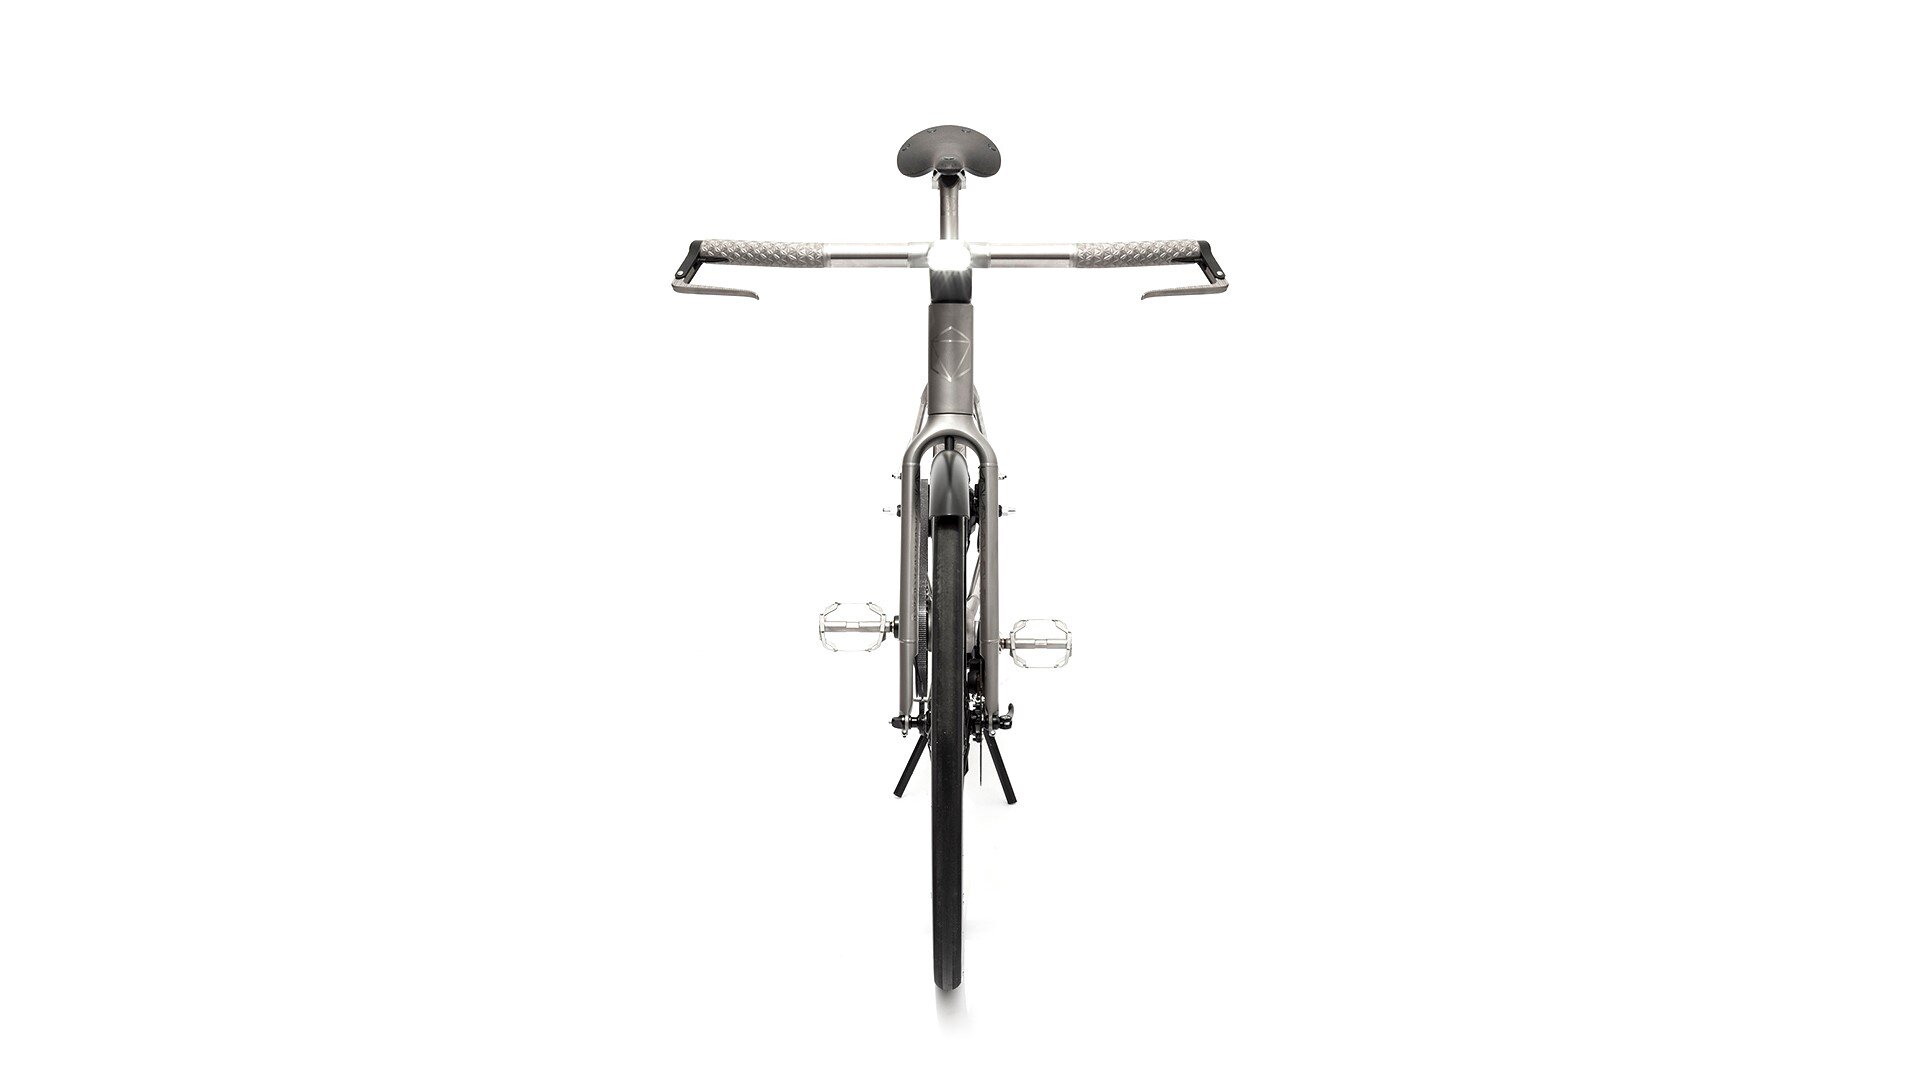
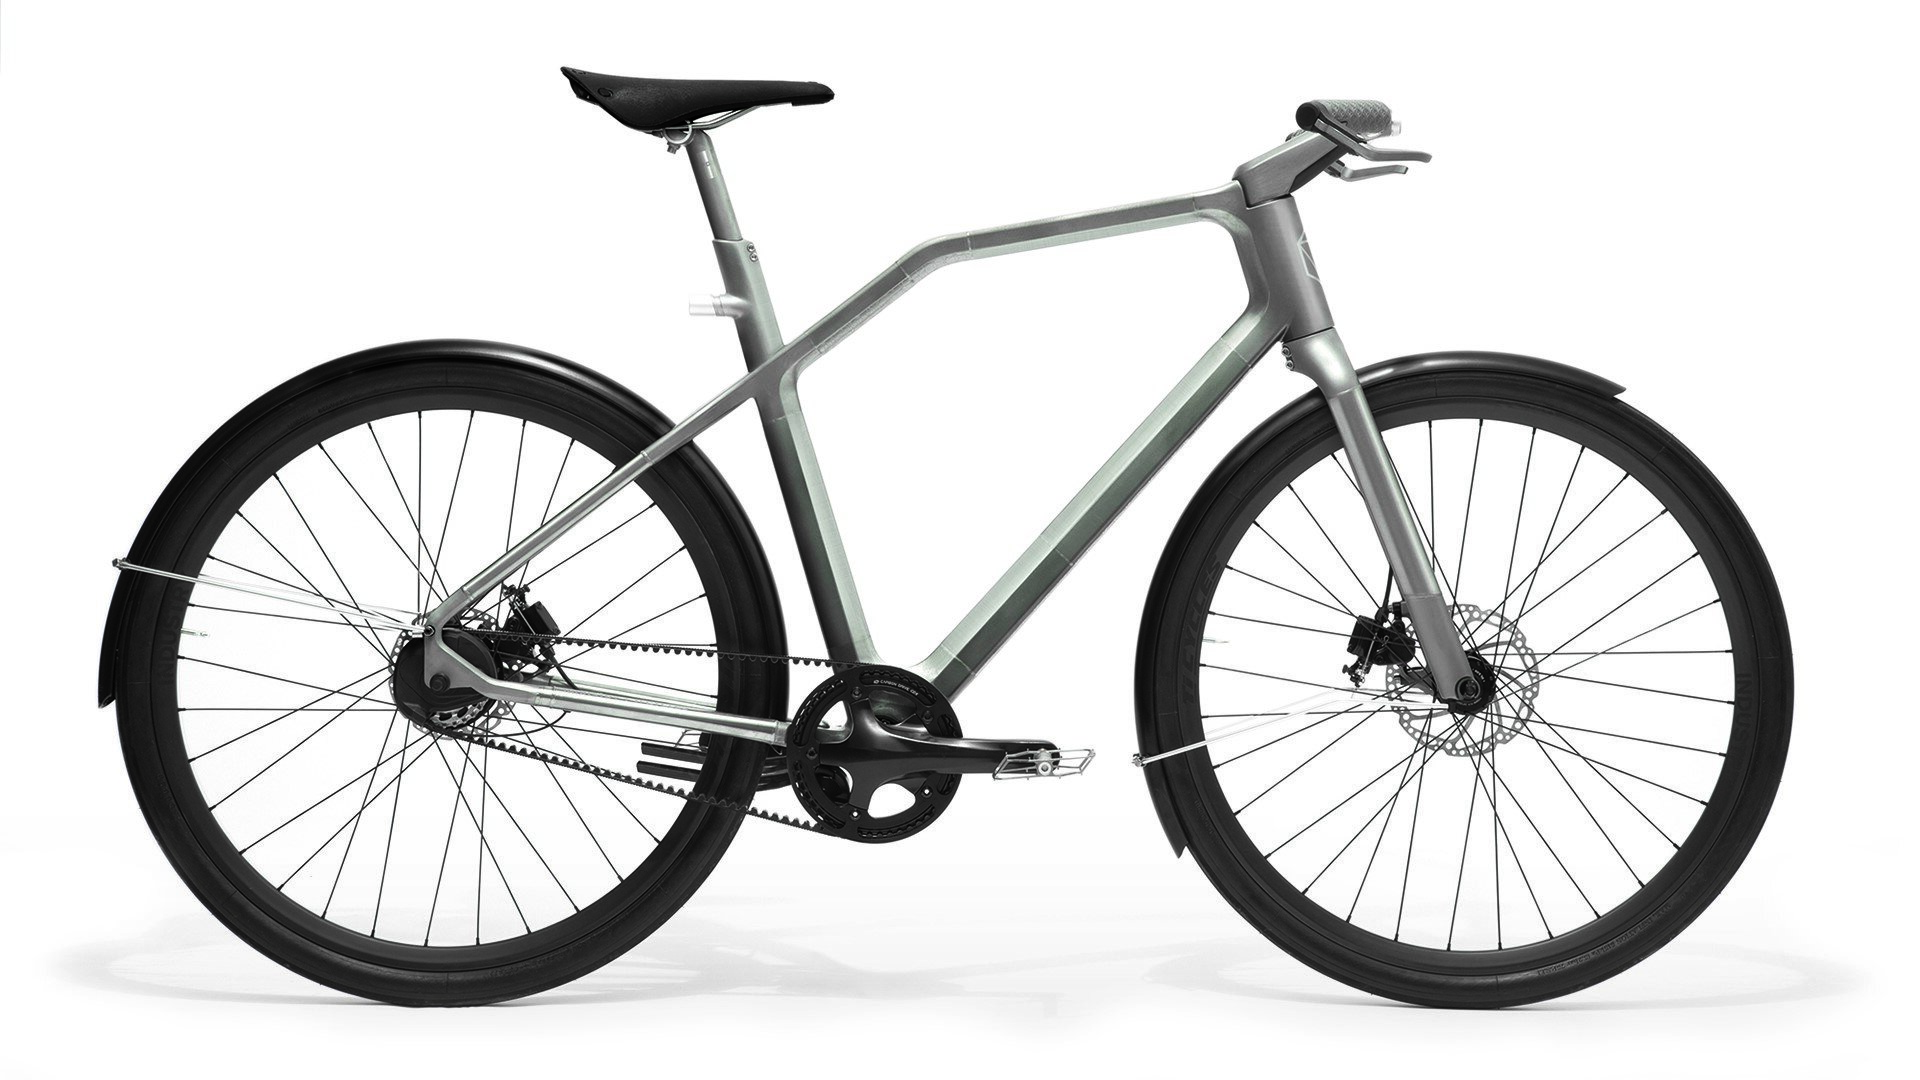
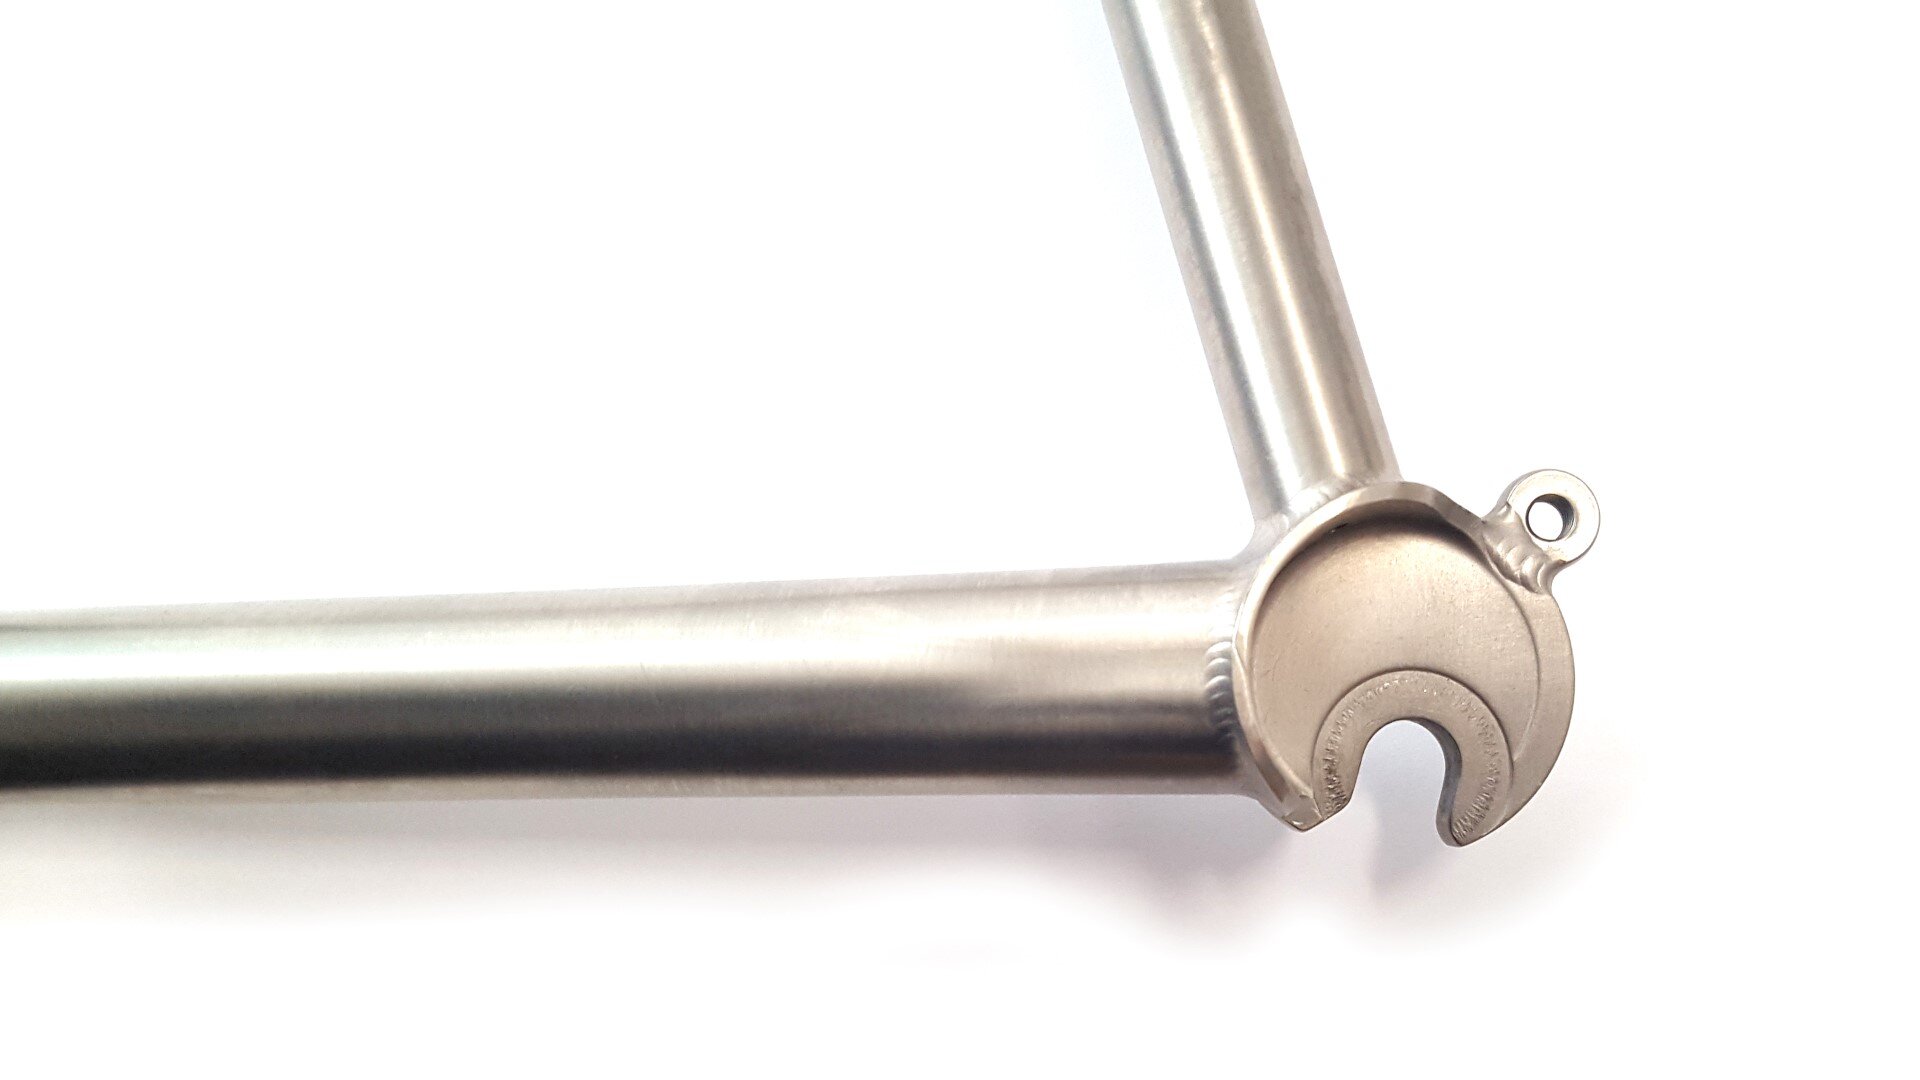
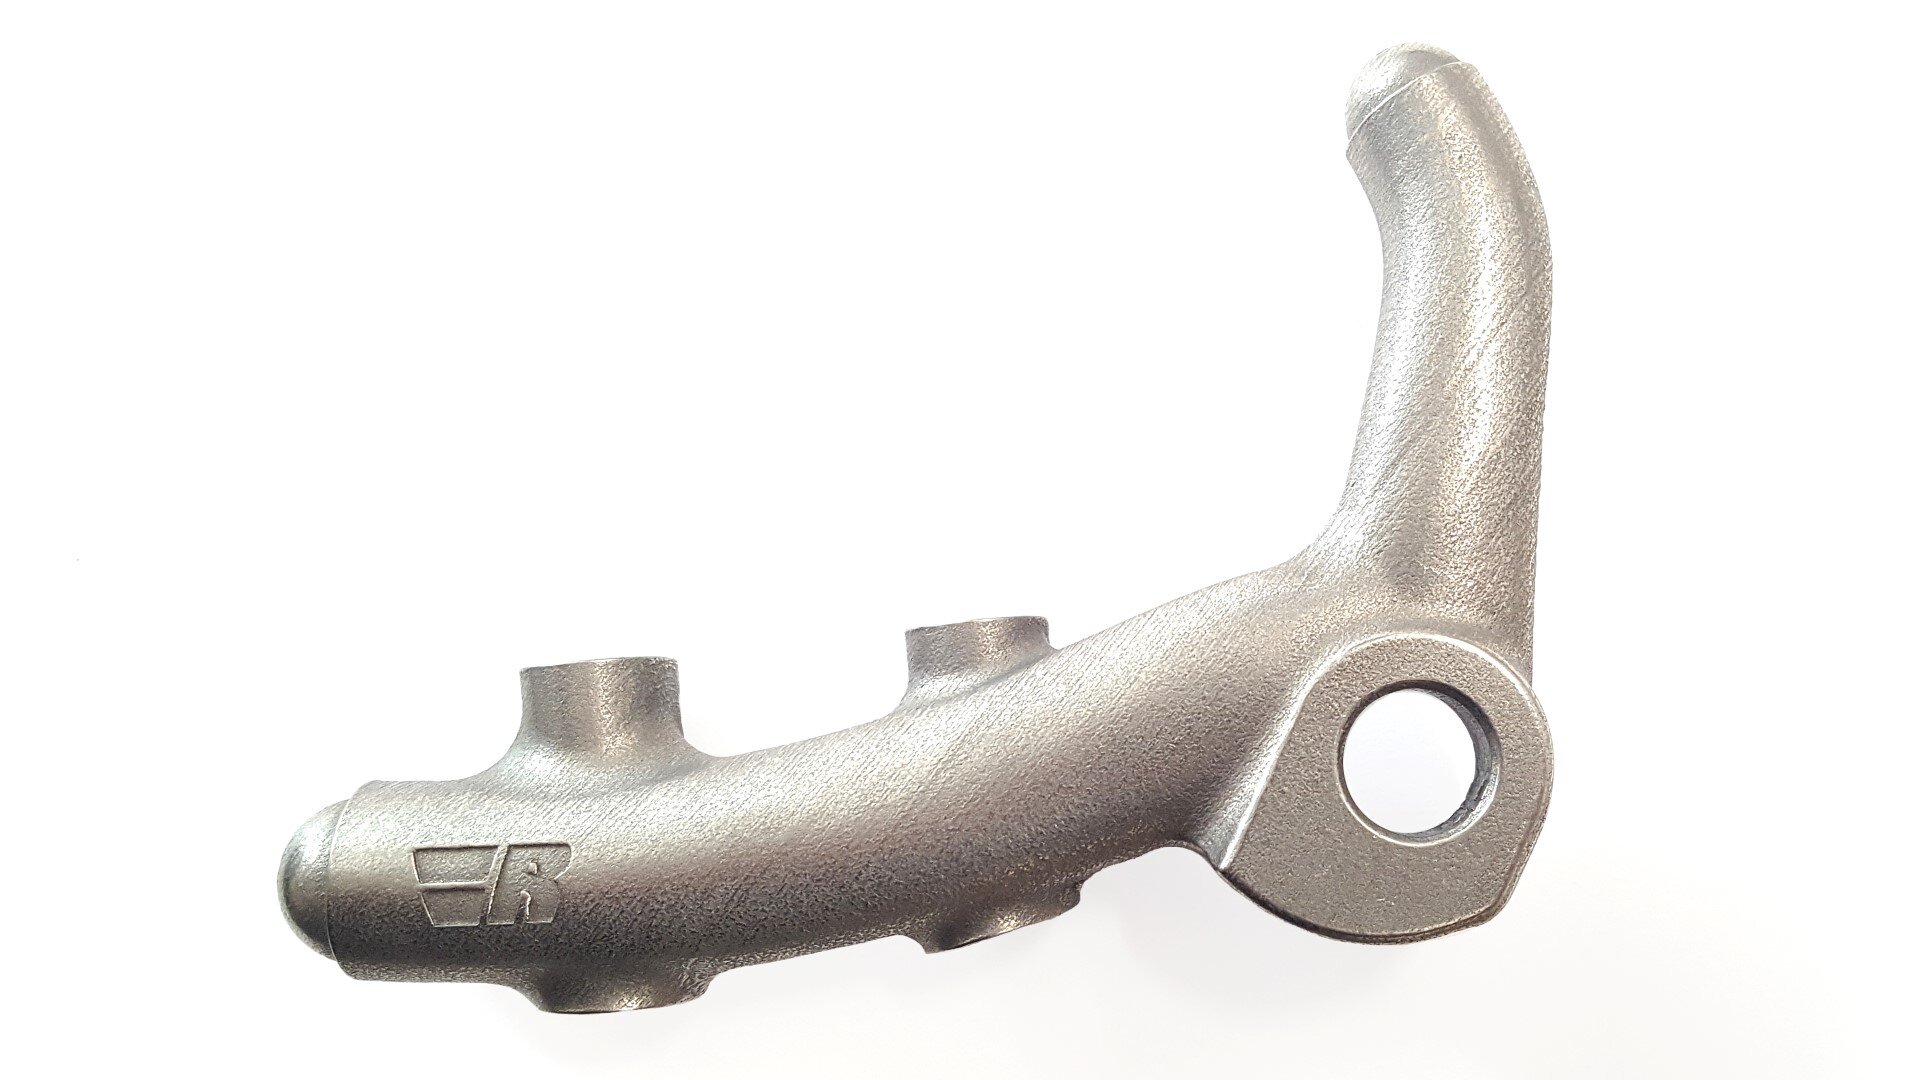
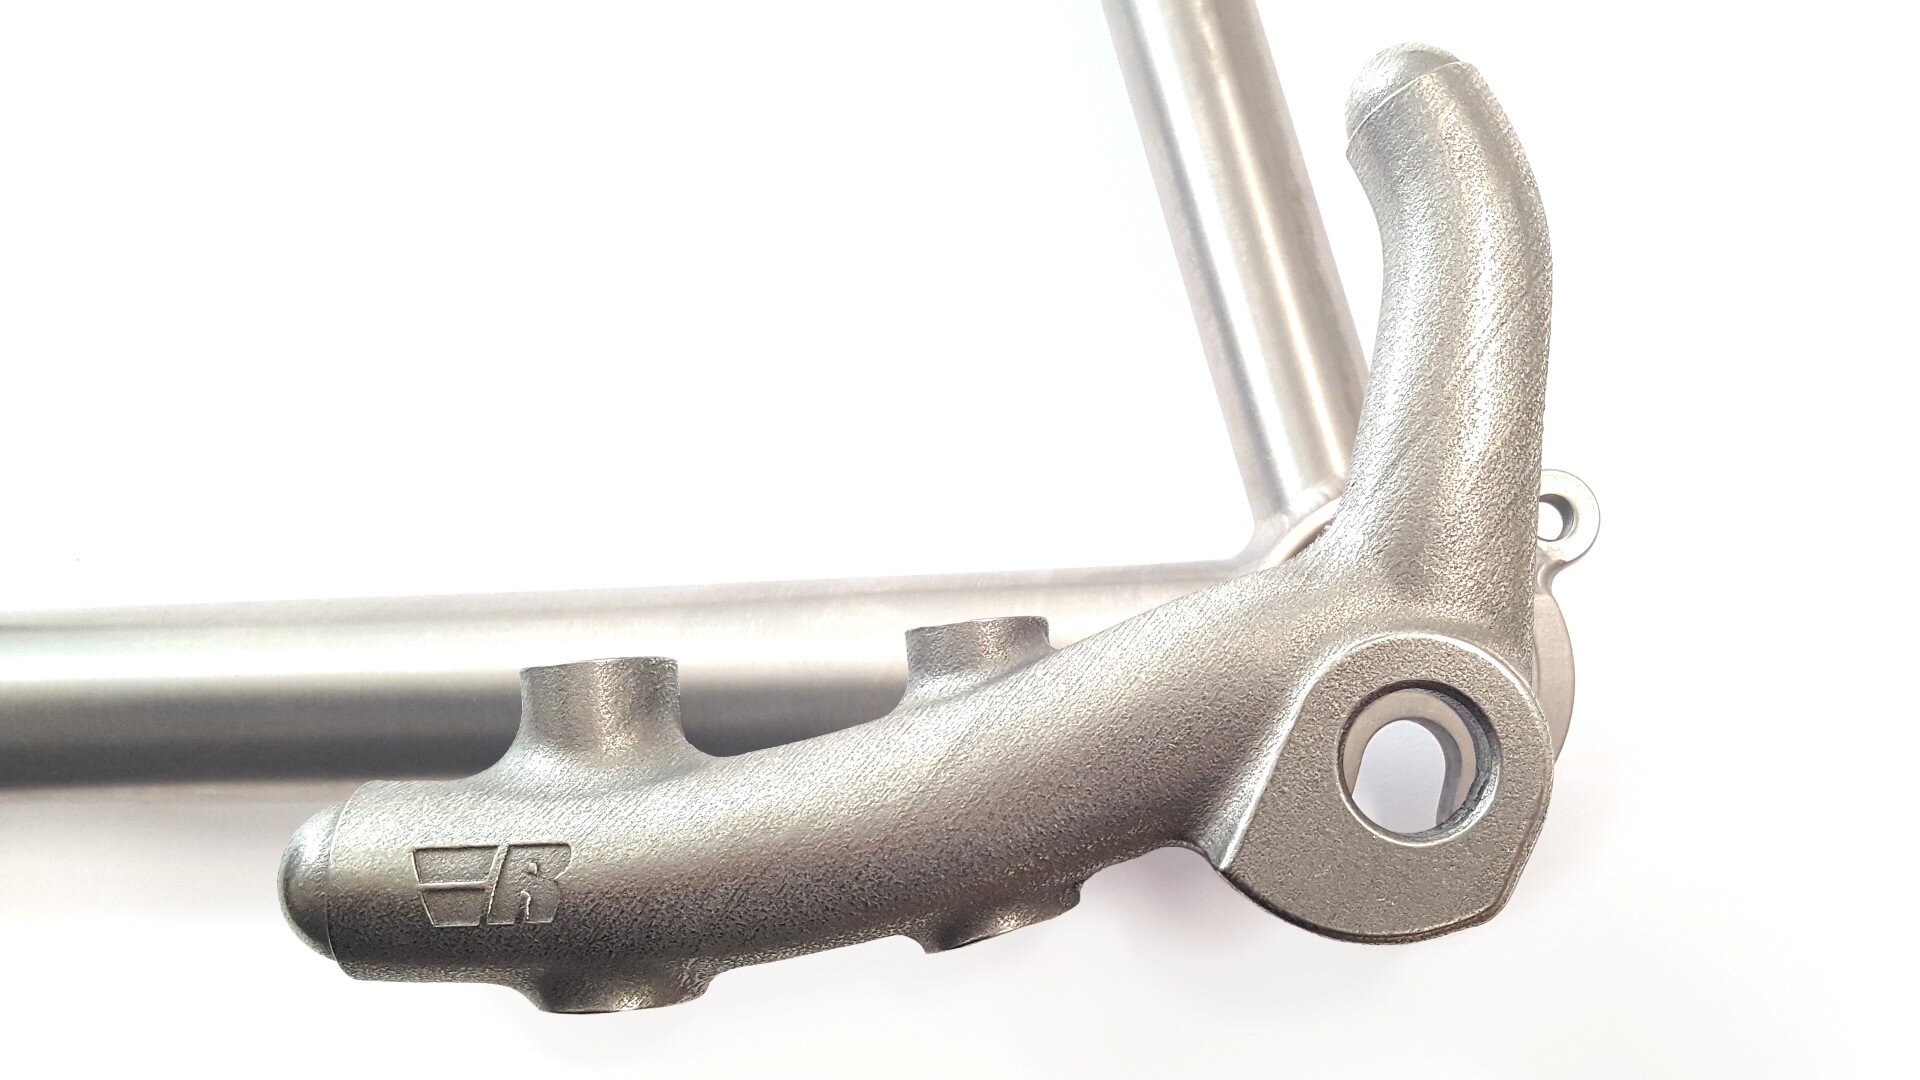
For an example, see the images below, showing the complications with one of the more common requests: converting a traditional 130QR rim brake frame to a 142x12 disc brake frame with the Reynolds R3D flat mount dropout. The impediments to an easy conversion are numerous and obvious.

That said, Yes! it is possible to retrofit most frames with dropouts of almost any style. It will likely not be simple or easy, and it may require custom dropout fabrication, chain-stay and/or seat-stay replacement to work, but it can be done.

It is also worth noting that some dropout retrofits, especially when converting a non-disc brake frame to disc, offer the potential for cost savings when updating to modular setups like Rocker Dropouts. These systems use a frame fitment that uses dropout inserts with an integrated disc caliper mount, eliminating the need for a separate disc brake conversion.

To be fair, sometimes serendipity provides for a replacement dropout that mates well enough with an existing rear triangle that it is possible to do a straightforward cut-and-replace. This best case scenario is rare and still involves several hours of shop time and new dropouts, but is ultimately much more affordable than a more complicated retrofit that requires replacing stays.

For information about converting an existing frame to a new dropout please reach out with information on your bike, along with photos, as well as your end objective and budget.

SHOP TALK // 5 QUESTIONS WITH 3D Print Show

Back in 2014 one of the projects I worked on was part of the Oregon Manifest design challenge, a recurring bike design competition that my client Ti Cycles was participating in. As a way of freshening up the event format the 2014 edition paired bike industry professionals with cutting edge design firms and then turned them loose on the theme of “the ultimate commuter bike.”

The Oregon-based team really swung for the fences. The designers at INDUSTRY were a forward thinking bunch, the Ti Cycles shop is known for specializing in titanium, and coincidentally one of the country’s first commercial titanium printers was just up the river at I3D. The collaboration ultimately rendered SOLID, the world’s first 3D printed titanium bike, which in spite of not winning the design competition did have its 15 minutes of internet fame.

During that time I fielded 5 Questions from Faith Robinson as part of the UK’s 3DPrintShow. Images courtesy of IndustryPDX.


Why is it important to be able to offer customized items, like bicycles?

The demand for custom bicycles has existed more or less as long as the bicycle. Production bicycle size fit some people, but certainly not everyone.

As anyone who has ridden an improperly fit bike can attest, it doesn't take long for a bad fit to manifest itself in knee pain, wrist pain, back pain, et cetera. That pain can at the least ruin a ride and turn someone off to cycling, and at the worst lead to injury. To a certain extent cockpit components can alleviate some fit issues, but in many cases the available off the shelf frames or parts just will not work.

Biomechanics and fit aside, there’s a reason that bone stock articles of anything of any vintage are hard to find; be it bicycles or automobiles, Craftsman houses or cave walls, personalization has always been a part of human nature.

3D printing technology has proved itself to be incredibly well suited to creating one-off items. What is your opinion towards 3D printing in terms of facilitating this?

In many ways 3D printing is ideal for one-off or custom items. The SOLID bike's fork crown, for example, is not something we could easily make with traditional methods.

Tell us about your Solid collaboration with design consultancy INDUSTRY. How did it come about?

All of the design firms and frame builders were invited to participate by Oregon Manifest. There are two ways to approach collaboration -- put two minds together until they reach consensus, or take ideas from one and allow the other to riff on them. SOLID was the latter; Industry took the existing SuperCommuter platform and ran with it, coming up with a new design that is a clear separation from the Ti Cycles aesthetic.

The Oregon Manifest design competition theme is the commuter bicycle, and Industry definitely took that idea into the future -- especially with the electronics suite on the bike and connected app – while incorporating a number of Dave's signature elements like the monostay rear end, the chainstay frame break, and the integrated bar/stem combo.


Why was titanium the material of choice for this 3D printed bicycle?

One of the six key ingredients of a SuperCommuter is the titanium frame. We love steel bikes and continue to build them every year, but a bike is not a SuperCommuter if it can rust away in the wrong environment or come unglued.

Do you see a future for the development of this kind of production method?

When you see the parts that I3D can produce there is no question that 3D printing is the future. In 2014 it is very much in its infancy but such a fantastic technology! In particular with titanium but also with other materials, right now it is far too cost and scale prohibitive to do any real manufacturing. The tycoon who needs a new wobblygog for his yacht will be served well by this technology years before the rest of us. Ti Cycles turns 25 in 2015; my guess is that there'll be at least another 25 years of world class, hand crafted titanium and steel bikes before very many bikes are made from dust and lasers.

SHOP TALK // HYDRAULIC BRAKE LINE COUPLER

Worth its weight in convenience, the basic hydraulic brake line connector is a part every shop should have on hand.

This small, lightweight, and practical part is ideal for extending hydraulic brake lines for longtail bike setups (Xtracycle, Surly Big Dummy, etc), cargo bikes, tandems, recumbents, or any other application using standard 5mm outside diameter hydraulic brake lines. Also works great for demo bike fleets or multi-use bikes where the ability to change handlebars without removing internal brake lines is necessary.

The central coupler body itself is machined aluminum with a black anodized finish and is compatible with any industry standard M8 hydraulic compression nut and any associated hose fittings for industry standard 5mm outside diameter hydraulic brake hose.

Hydraulic brake line couplers are available in several different kits to ensure compatibility with the intended braking systems. The central coupler body is universal between all variants; the only differences between kits are the system specific hose fittings.


BASIC / STANDARD MINERAL OIL KITS

Uses a flat bottom brass olive and two-piece hose fitting with a brass barbed insert and mineral oil compatible o-ring.

Intended for use with Shimano, TRP/Gevenalle, Magura, Campagnolo and most other systems utilizing mineral oil.

Due to the different chemical compositions of mineral oil and DOT brake fluid the o-ring seals used in standard mineral oil kits are not compatible with Hayes, Formula, and other systems.

Assembles with Shimano TL-BH62, TRP BR7156, SRAM 00.5315.028.030, or similar hydraulic brake hose fitting tools.


BASIC / STANDARD DOT KITS

Uses a single piece brass olive hose fitting with an integrated barbed insert.

Intended for use with Hayes, Formula, SRAM, and other systems using DOT fluid.

With no o-ring or brake fluid soluble materials this kit is technically compatible with all DOT and mineral oil based hydraulic systems.

Assembles with Shimano TL-BH62, TRP BR7156, SRAM 00.5315.028.030, or similar hydraulic brake hose fitting tools.


BASIC / SRAM COMPATIBLE KITS

Uses a proprietary SRAM Steath-a-majig two-piece threaded aluminum olive hose fitting and threaded stainless steel barbed insert.

Intended for use with SRAM hydraulic systems.

With no o-ring or brake fluid soluble materials this kit may be compatible with other DOT and mineral oil based hydraulic systems.

Assembles with SRAM Handheld Barb Driver Tool (MPN: 00.5315.028.030).

SHOP TALK // 12-15-TA-Adapter Fork/Hub Compatibility Check

The CAMPESTRAL 12-15-TA-Adapter itself is compatible with all 12mm Thru Axle forks and all 15mm Thru Axle hubs. And while a wide range of forks and hubs work together perfectly, certain combinations of 15TA hubs and 12TA forks have compatibility issues.

Please note that the critical dimensions for compatibility are the inside diameter (ID) of the fork dropout pocket and the outside diameter (OD) of the hub end cap. In practice there are no standards in use for either dimension.

A wide range of 12TA forks have 20mm-21mm ID dropout pockets that accommodate the majority of 15TA hubs. A smaller subset of 12TA forks have 19mm ID dropout pockets that accommodate fewer hubs. For a

There are a few outliers that are smaller but most 15TA hubs have an end cap OD of ~20mm. This creates obvious compatibility issues with the aforementioned 12TA forks with 19mm ID dropout pockets.

For those upgrading an existing bike who do not already have a 12TA fork and are looking to skip a lot of the hub drama, the REN GX1 is highly recommended. The dropout pockets, shown below, have an ID of nearly 21mm, and the fork has a sweet 50mm offset, full carbon tapered steerer, integrated fender mounts, and optional titanium front rack.

For those with existing 12TA forks who want to find out if a specific hub will play nicely, first measure the ID of your fork dropout pockets.

  • Measure the diameter of the pocket across the centerline of the dropout hole.

  • For an accurate measurement of diameter it is critcal that the measurement be taken across the center.

  • Some dropout designs do not have a full half-round pocket which can make an accurate measurement difficult. In these instances use your 12TA axle to help accurately locate the axle center, and measure to the top of the dropout pocket.

CAMP-12-15-TA-Adapter-Fit-Check-Fork (1).jpg
CAMP-12-15-TA-Adapter-Fit-Check-Fork (2).jpg


To check hub compatibility, measure the OD of the axle ends/end caps.

CAMP-12-15-TA-Adapter (8).jpg

If the hub end OD is smaller than the ID of the fork dropout pockets there are no compatibility issues and the CAMPESTRAL 12-15-TA-Adapter is all that is needed, just plug and play.

If the OD of the hub axle ends is larger than the ID of your the dropout pockets there is a basic compatibility issue.

Forks, especially carbon fiber, are complex monocoque pieces of engineering that don’t lend themselves to modularity or modification. Hubs on the other hand are generally able to be disassembled and afford several possible compatibility solutions.

First, a standard 12mm end cap conversion kit may be available from the hub manufacturer. Problem solved. Please visit your hub manufacturer’s website for information on stock end cap conversions.

If there is no standard 12TA conversion kit available don’t fret. RADHAUS stocks all of the CAMPESTRAL complete 15TA hub conversion kits, which include the axle adapter and 12mm fork compatible end caps, available for several popular models from DT Swiss, Race Face, Chris King, and Mavic.
>> SHOP CONVERSION KITS

For all other hubs with end cap OD greater than 19mm RADHAUS offers a conversion service for most hubs that includes the 12-15-TA adapter. Please inquire about your specific setup and we are happy to help.